Turning a video into a written article sounds simple until you’re staring at a raw transcript full of half-sentences, tangents, and “uhh… hang on” moments. The ideas are good - you just don’t have a clean way to ship them as a blog.
If you publish on YouTube regularly, you’re sitting on a backlog of material that could keep your site fresh, feed your newsletter, and bring in organic traffic for months. The trick is having a repeatable way to go from YouTube transcript to blog post without spending your whole weekend editing.

Turning a recorded video into a structured blog post starts with a simple, repeatable workflow.
TL;DR: Turning YouTube transcripts into blog posts
- Start with a clean, speaker-labeled transcript (ideally of your own video).
- Pick one clear angle and search intent for the blog version.
- Use timestamps to build a logical outline instead of copying line by line.
- Rewrite for reading: remove filler, tighten arguments, add examples.
- Add SEO basics: title, headings, internal links, and meta description.
- Use IsThisClickbait to pull transcripts, summaries, and key moments fast.
- Finish with a quick polish pass for flow and skimmability, then publish.
What it really means to repurpose a YouTube transcript
A YouTube transcript is just a text record of what was said in your video. A blog post, on the other hand, is a structured argument or story designed for reading, scanning, and ranking in search.
So this isn’t “copy, paste, publish.” Repurposing means you:
- Keep the core ideas and unique insights from the video.
- Reshape them into clear sections with headings and subheadings.
- Fill in gaps where you improvised or riffed live.
- Cut everything that only works when you can hear tone or see the screen.
“Treat the transcript as raw material, not as the finished draft.”
Once you think of transcripts as building blocks, the whole process feels lighter. You don’t need every word; you just need the ideas in an order that serves the reader.
Step 1: Get a clean transcript (without breaking any rules)
First, you need a transcript that’s clean enough to work with and legal for you to use.
Where to get the transcript
- Your own videos: Use YouTube’s transcript or captions, or your captioning tool of choice.
- YouTube transcript panel: On many videos you can open the transcript directly and copy it.
- AI tools: Tools like IsThisClickbait can pull the transcript and structure key points for you.
A clean transcript view makes it easier to see what you actually said and decide what belongs in the blog post.
Be smart about rights and credit
The safest option is to repurpose content you created yourself. If you’re summarizing someone else’s video for a blog post, treat it like quoting an article: write in your own words, add commentary, and link back to the original video instead of lifting the full transcript line by line.
If you’re not sure about what’s allowed, keep it conservative: summarize, cite, and link. That way your blog post adds value instead of just duplicating someone else’s work.
Step 2: Choose the blog angle and search intent
Before you touch a sentence, decide what kind of blog post you’re writing. The same transcript could become:
- A step-by-step how‑to guide.
- A “what is…” explainer.
- A case study or teardown.
- An opinion piece with a clear stance.
Ask yourself three quick questions:
- What question is the reader typing into Google? (e.g., “how to audit a YouTube channel,” “email onboarding examples”).
- What outcome are they hoping for? A checklist, a template, a decision, a comparison?
- Which part of my video best answers that? That becomes the spine of your blog post.
This is also where you can do a light keyword check—just enough to find the exact phrasing people use. A quick search, a look at the top results, and a peek at related searches is usually plenty. You don’t need a full SEO audit to get started.
If you already publish written content, think about how this post will link to others. For example, a post based on a product demo video can point to your feature overview page or a related article in your blog archive.
Step 3: Turn timestamps into a clear outline
This is where you move from “wall of words” to something that looks like a real article outline.
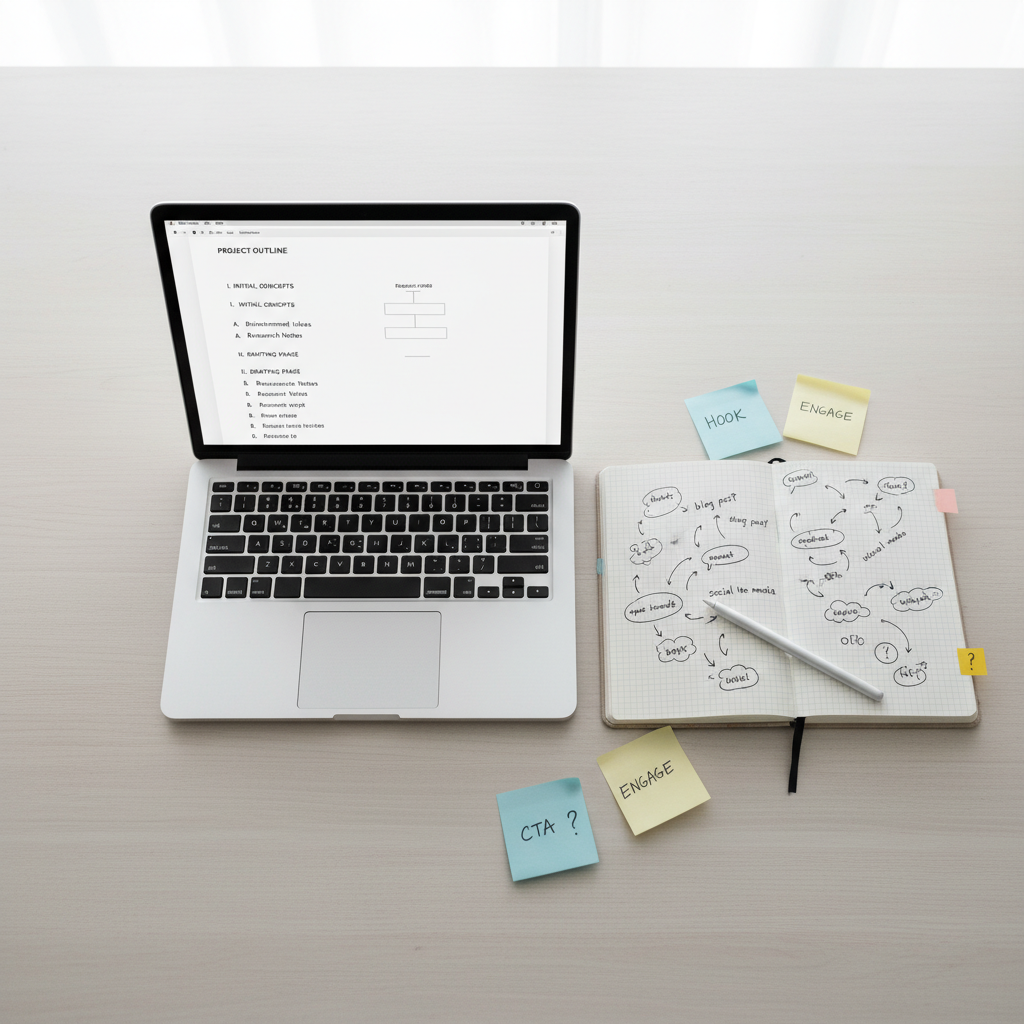
Turning timestamps and scattered ideas into a simple outline keeps your YouTube-to-blog workflow predictable.
The S.A.T. method: Scan, Assemble, Tune
Here’s a simple framework you can reuse for every video:
- Scan your transcript or summary for big topic shifts and section headings you spoke out loud.
- Assemble those into a linear outline: intro, 3–5 main sections, FAQs, conclusion.
- Tune the order so each point builds on the last and leads logically to the next step.
Example outline from a 20‑minute tutorial
- Intro: Who this is for and what they’ll be able to do.
- Section 1: Quick context or definitions.
- Section 2–4: Main steps or pillars, one per section.
- Section 5: Common mistakes or advanced tips.
- FAQs: 2–3 questions you answered off‑hand in the video.
- Conclusion: Recap + next action.
If you use IsThisClickbait, you can grab the “Key points” and “Must‑watch moments” from the side panel and paste those straight into your outline instead of skimming every line manually.
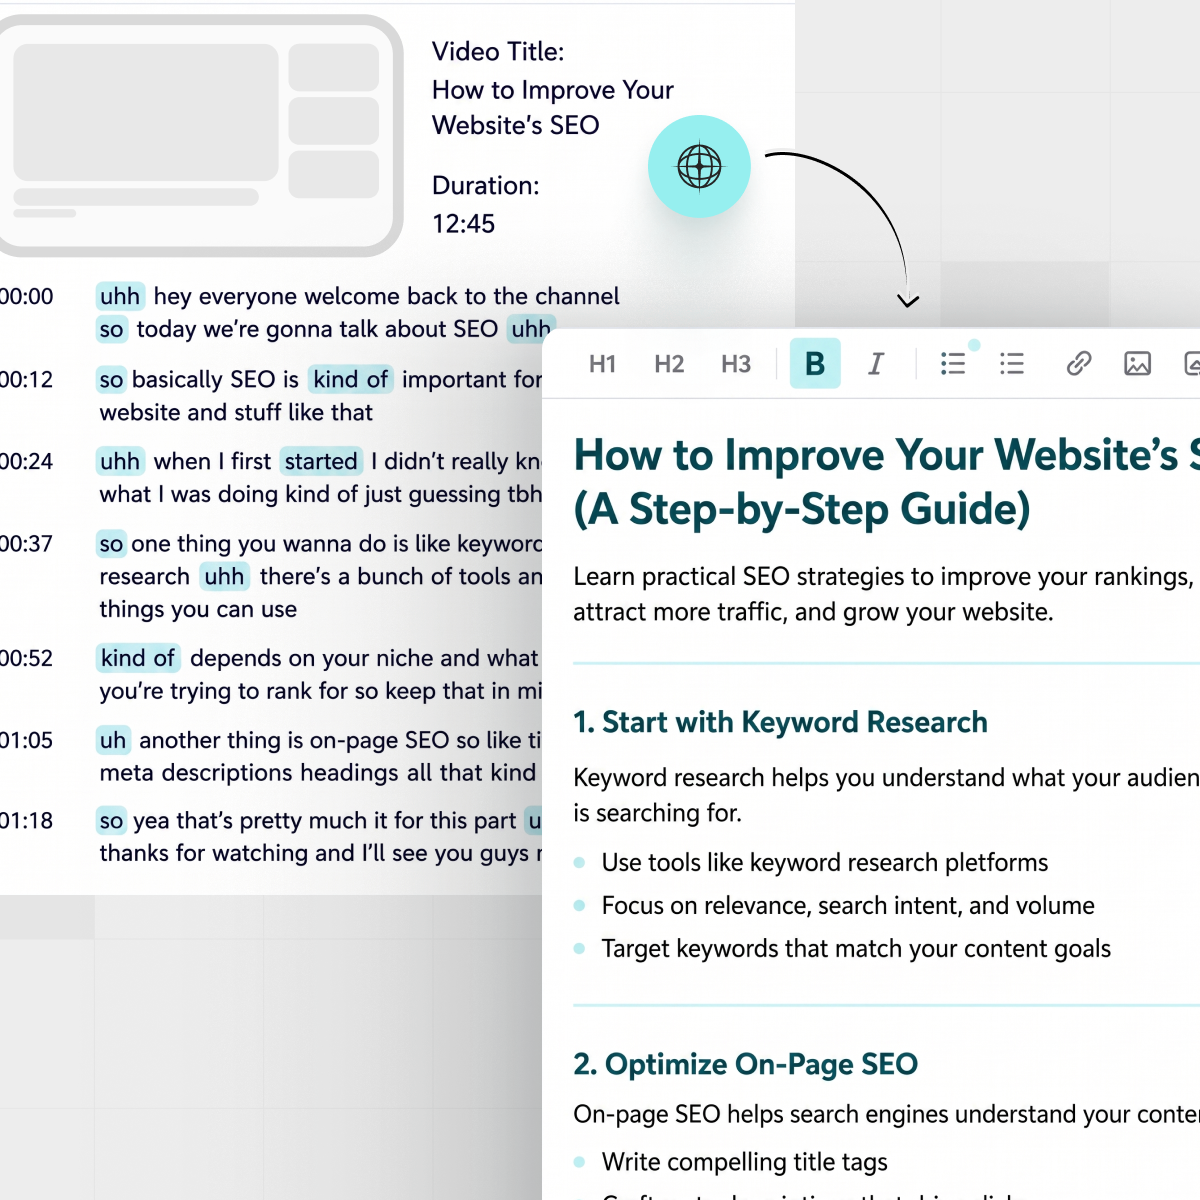
Step 4: Rewrite for readers, not listeners
Spoken language is messy by design. We repeat ourselves, change direction mid‑sentence, and rely on tone and body language. The rewrite step is where you turn that into something clean and confident on the page.
Clean up filler and false starts
Go through each section of your outline and:
- Remove filler words (“so yeah,” “kind of,” “basically”).
- Combine short, choppy lines into complete sentences.
- Replace “as you can see here” with a line that explains the idea directly.
Add context that was only on screen
If you referred to slides, live chat, or a product UI, explain those elements in plain language. The reader can’t see what was on the screen, so the blog version has to stand alone.
Weave in your examples and stories
One of the best parts of turning a YouTube video into an article is that you have already tested which stories landed. Keep the one or two examples that your audience reacted to the most and write them out in full. That gives your blog post the same personality as your video without feeling like a transcript dump.
Step 5: Add basic SEO so the post can rank
Now that the piece reads well, you can think about the search. You don’t need advanced tools for this part—just a checklist and a reader‑first mindset.
Craft a clear title and URL
- Put the main phrase or question near the start of your title.
- Keep titles under ~60 characters so they display well in results.
- Use a short, descriptive slug like /youtube-transcript-to-blog-post.
Use headings that answer real questions
Turn spoken section transitions into headings that look like queries:
- “How do you turn a YouTube transcript into a blog post for SEO?”
- “What should you remove from a raw transcript?”
- “How long should a blog post be compared to the original video?”
These headings help readers scan, and they signal relevance to search engines.
Link thoughtfully
- Link to related posts on your site, such as other articles in your video‑to‑content series.
- Point to product pages (for example, your features or pricing page) when it feels natural.
- Add a small number of trustworthy external links, like Google’s own search documentation or reputable marketing blogs such as HubSpot’s content repurposing guides.
Keep the focus on being helpful. If a section exists only to stuff keywords, cut it. The blog version should feel like the sharp, written cousin of your video, not a weaker remix.
How does ThisClickbait speed up the YouTube-to-blog workflow
Doing all of this by hand for every video can stretch a small team. That’s why tools like IsThisClickbait exist: to handle the heavy lifting so you can focus on the parts that need your judgment and personality.
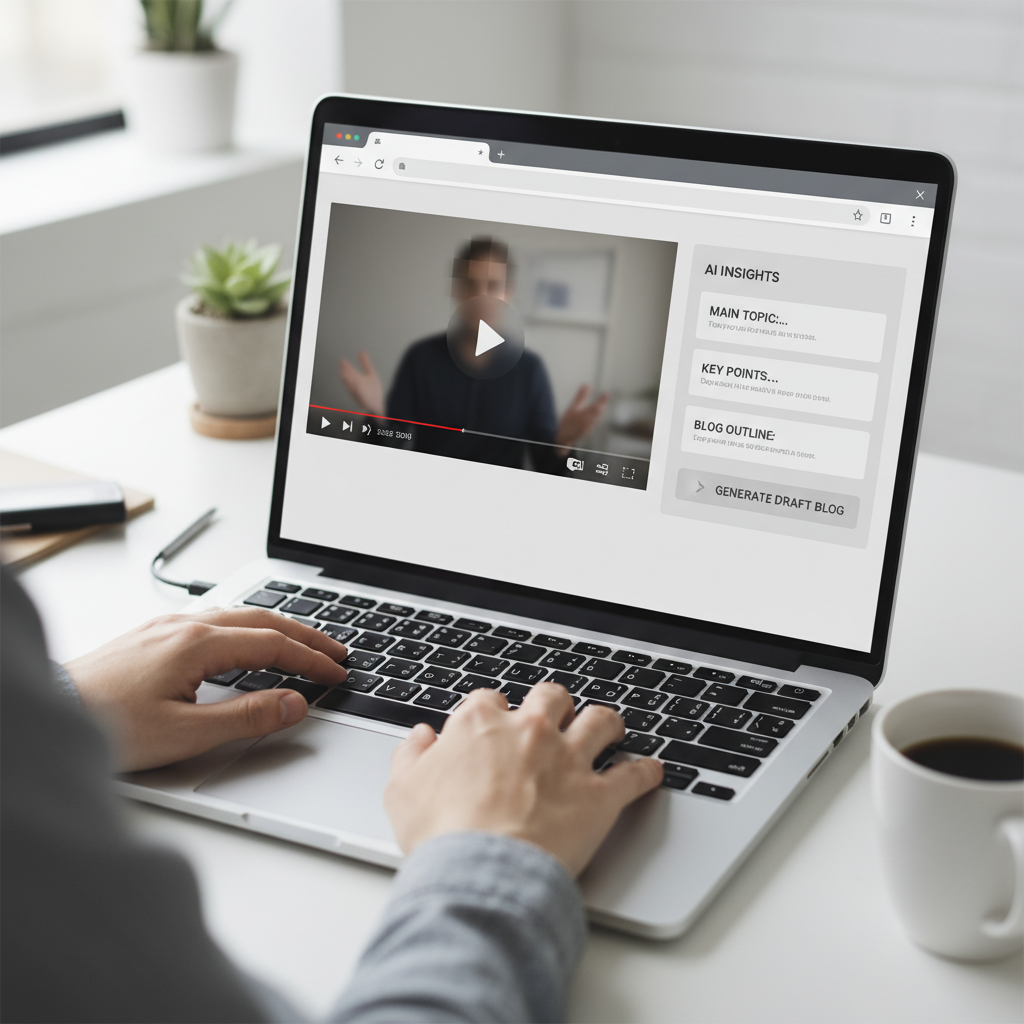
An AI side panel can pull transcripts, summaries, and key timestamps so you start from a structured brief instead of a blank page.
A fast workflow using the IsThisClickbait extension
- Open your YouTube video in your browser.
- Launch the IsThisClickbait side panel.
- Let it pull the transcript, generate a concise summary, and flag key points and timestamps.
- Copy the summary, key points, and “must‑watch” sections into your doc as a starting outline.
- Expand those bullets into full sections using the steps above.
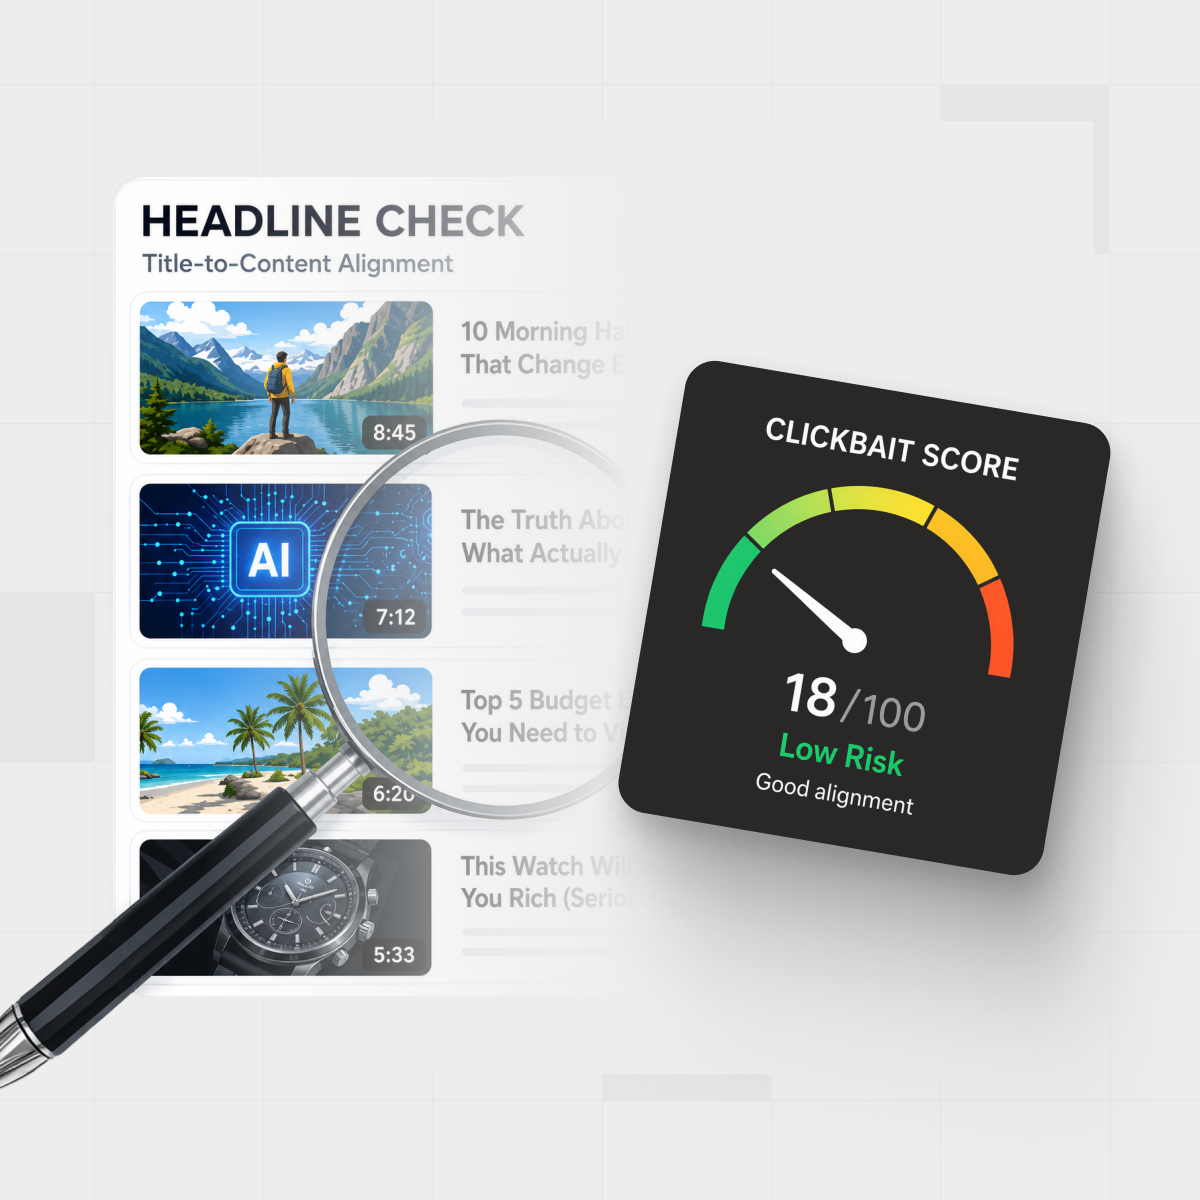
- Use the clickbait score and explanation to check that your title and thumbnail match the substance of the post.
Instead of starting from a blank page, you start from a structured brief that already reflects what you said on video. That can turn a half‑day writing session into an hour of focused editing.
FAQs about turning YouTube videos into blog posts
Can I turn someone else’s YouTube video into a blog post?
You can write about someone else’s video, but treat it like you would any other source: summarize in your own words, add your perspective, and link back to the original. Copying the full transcript word-for-word and publishing it as your own article is a different story and can raise copyright and trust issues.
Do I need a perfect transcript?
No. Auto‑generated transcripts are fine as long as you’re prepared to fix obvious errors while you rewrite. Tools that combine transcripts with summaries—like IsThisClickbait—can help you skip straight to the parts that matter most instead of wrestling with every “um” and misheard phrase.
How long should my blog post be compared to the video?
There’s no magic ratio, but a common pattern looks like this:
- Short explainer video (5–10 minutes) → 800–1,200 word blog post.
- Deep‑dive webinar (30–60 minutes) → 1,500–2,500 word guide or multi‑post series.
Focus less on matching length and more on fully answering the reader’s main question without padding.
Should I publish the transcript and the blog post?
Many creators do both: they publish a cleaned‑up transcript for accessibility and search, plus a polished article that’s easier to read. If you go this route, make sure the article stands on its own and feels like a crafted piece, not just the transcript with headings sprinkled on top.
Your next step
One good video can become a standout blog post, a newsletter issue, social posts, and even internal documentation. The transcript is just your first draft.
Pick one high‑performing video on your channel, run through the 7 steps in this guide, and ship a single article. Once you’ve done it once, you’ll have a reusable playbook for every episode, livestream, and webinar you produce.
If you want a head start on transcripts, summaries, and key moments, try running that video through IsThisClickbait and start analyzing it alongside your next writing session.